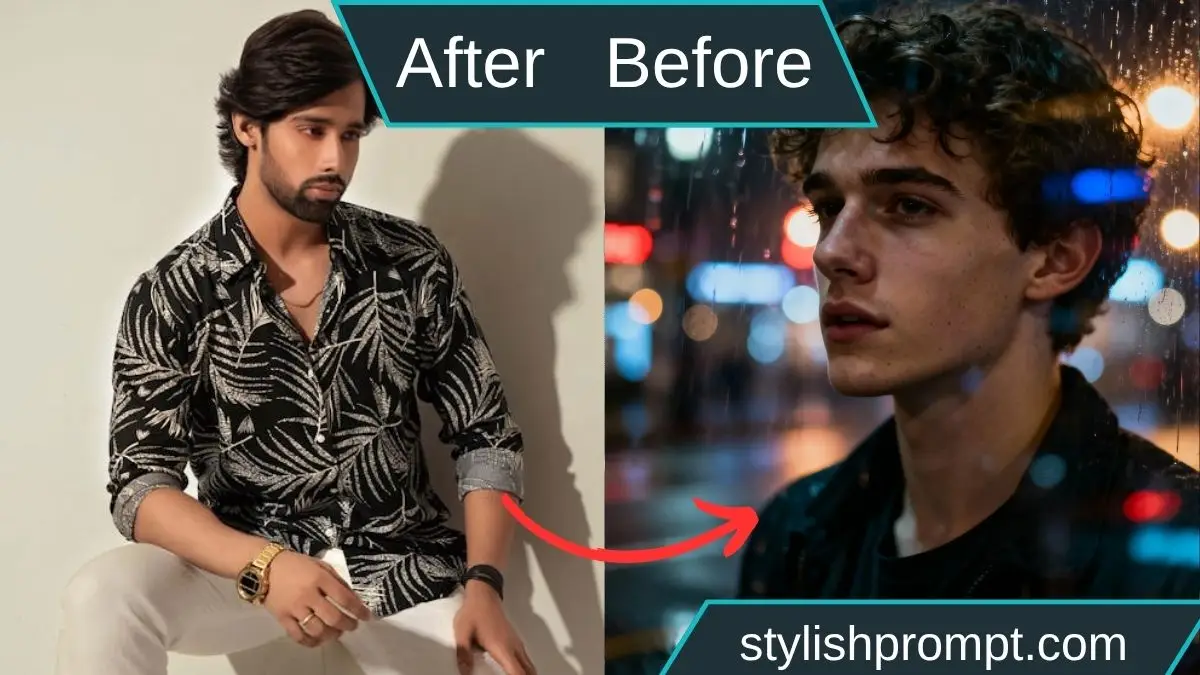
There’s a kind of magic in urban solitude. In the quiet hum of neon, under dripping lights and wet pavement, a face appears behind glass—reflected, half‑lost, half‑seen. This article will guide you on transforming your own photo into a cinematic, melancholic artwork with emotional depth. You’ll learn how to craft the perfect prompt, the editing techniques, and the mindset to make your image stand out as a Royal VIP portrait.
Why this visual style resonates
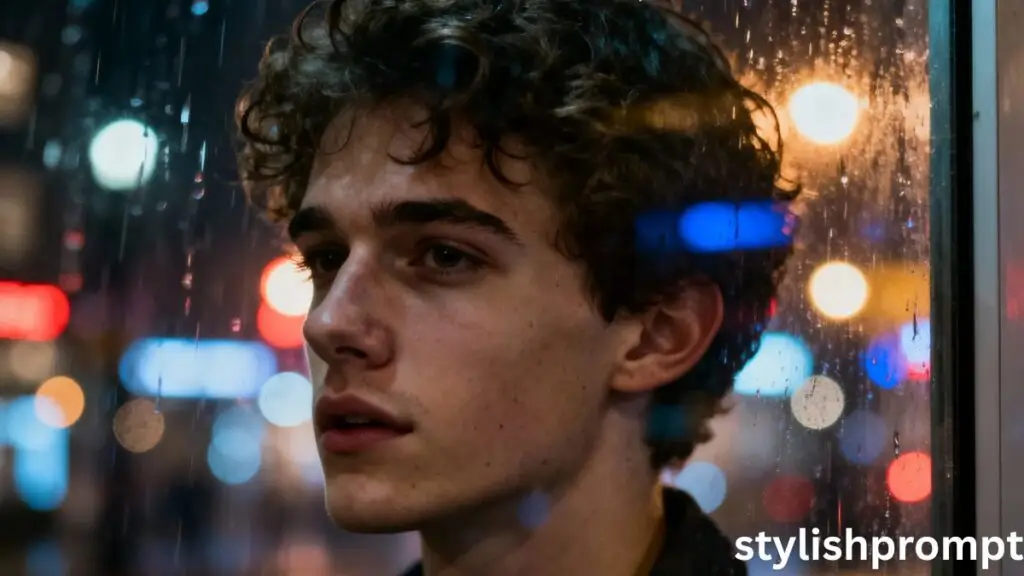
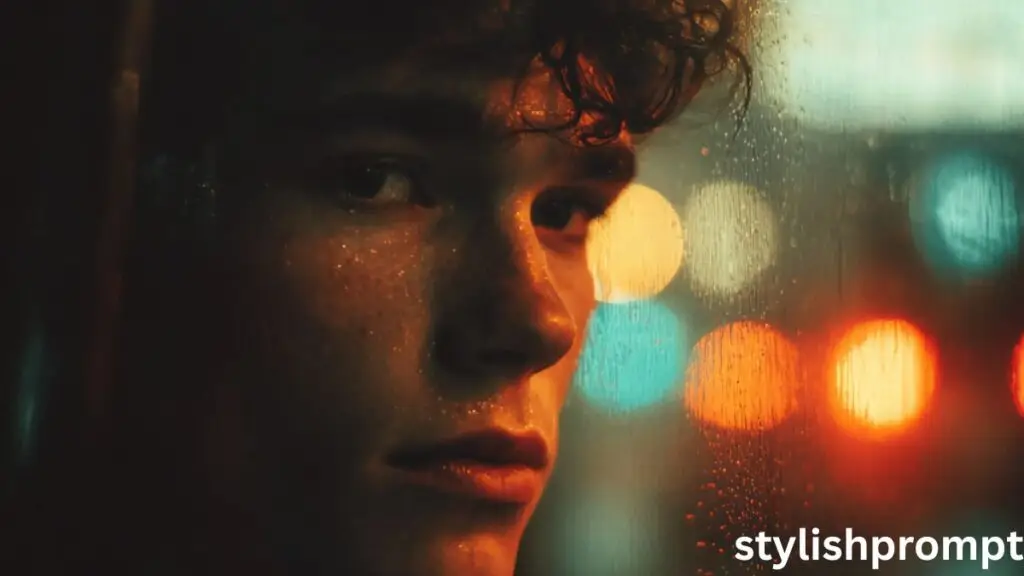
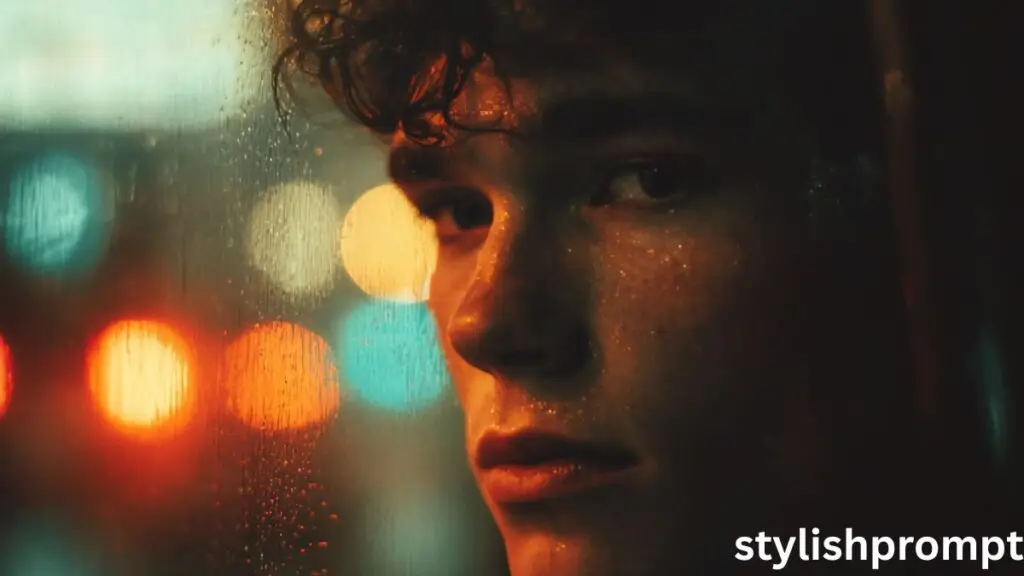
A portrait seen through rain-soaked glass carries layers—inside and outside worlds, emotion and distance.
Viewers sense the narrative: who is he, what’s on his mind, what lies beyond the glass?
That tension between clarity and blur, reflection and reality—that’s what makes the style compelling.
What “turning your photo into a Royal VIP” really means
To me, “Royal VIP” means elegance, presence, emotional weight.
It’s not about literal royalty, but bestowing dignity, gravitas, and cinematic flair on everyday moments.
Your photo should feel like a frame from a film—rich tones, mood, and intention.
How to choose a photo worthy of transformation
Pick images with these qualities:
- Reflections or glass surfaces — adds depth and mystery
- Moody lighting or low light — harsh lights or neon work well
- Expression or body language — contemplative, quiet, introspective
- Some ambient light sources in background — streetlights, neon signs, car lights
If your image has none of these, the end result may still look good, but the cinematic feel will be harder to achieve.
The narrative behind my own experiment
One rainy November evening, I walked through downtown. A storefront window caught my eye: behind it, a young man’s face, faintly visible. Outside, raindrops blurred the neon lights. I raised my camera, captured that reflection with shallow focus. Back home, I graded it, emphasized the glistening reflections, softened the edges, and boosted textures of skin—what started as a spontaneous snapshot became one of my favorite frames. That moment taught me how much power lies in subtlety.
Preparing your image before prompt submission
- Crop or frame close so the face is central or balanced
- Remove distracting elements (excess reflections, clutter)
- Adjust exposure lightly so no large blown highlights or deep black holes
- If possible, convert to a higher bit depth (e.g. 16-bit) or a high‑resolution file
Stylish Prompt Card
Paste your AI prompt below. Then just click copy and use it anywhere you like!
Editing & post-processing tips after generation
- Use masking to refine face vs reflection separation
- Adjust channels (RGB) to balance color casts
- Use gentle curves to deepen shadows but retain midtones
- Apply grain or texture overlay for realism
- Be cautious with saturation—mute it where necessary
Feature snippet style: how to turn your photo in 5 steps
- Choose a reflective or glass-element photo with ambient light
- Lightly pre‑process (crop, exposure)
- Paste your prompt where marked above
- Generate the image with GPT / image model
- Post-edit the result (masks, grading, texture)
This concise list helps Google show your content as a snippet.
Pros & Cons of this style
Pros
- Emotionally compelling and cinematic
- Distinct look—less like generic filters
- Great for portraits, album art, visual branding
Cons
- Requires careful prompt and editing
- Not every photo will convert well
- Overprocessing may kill authenticity
Comparison: standard portrait vs moody glass reflection
| Aspect | Standard Portrait | Moody Reflection Portrait |
|---|---|---|
| Background | Clean, plain, non-distracting | Reflections, blurred city lights |
| Lighting | Balanced, frontal | Backlit, neon highlights, side light |
| Depth | All sharp | Shallow focus, bokeh |
| Mood | Neutral, direct | Emotional, introspective |
| Color | Natural tones | Muted or stylized grading |

People Also Ask (PAA)
- What is cinematic portrait photography?
It’s a style where lighting, composition, and mood are crafted to resemble a still from a film—evocative, dramatic, and narrative. - How do I describe reflections in a prompt?
Use terms like “through glass window,” “rain-soaked glass,” “reflected city lights,” “wet glass surface.” - Why shallow depth of field?
It isolates the subject, creating a dreamy blur in foreground/background and focusing visual attention. - Will the model always respect skin texture and curls?
If you specify “fine skin texture,” “natural curls,” and “realistic lighting,” the model is more likely to preserve those features.
FAQ
1. What kind of images won’t work with this style?
Images with extremely flat lighting, heavy glare, or no ambient light tend to lack mood and are harder to transform convincingly.
2. Can I use this style for other genders or group shots?
Yes—just specify details for subjects (e.g. two faces, composition). But single-subject portraits tend to yield stronger results.
3. Which tools or models support image + prompt generation?
Models like DALL·E, Stable Diffusion with img2img, Midjourney, or GPT‑4 with vision modules (if available). Use the one that allows you to input both image + text.
4. Should I expect perfect output on first try?
Not always. Iterate prompts, adjust strength or blending parameters, or refine via post-editing until you get your vision.
5. How do I store or show these portraits?
Use high-resolution formats (PNG, TIFF) and share on portfolio sites or social media. Use watermarks if needed.
My parting story & encouragement
When I first attempted to make a reflective portrait, I failed—too much blur, face lost, lighting flat. But I kept refining: changing prompts, adjusting emphasis, guiding the model with more precise descriptors. Finally, one outcome stopped me: the face emerged, glass layers visible, city lights ghosting behind. It felt intimate. It felt real. And it taught me that these cinematic portraits are not miracles—they’re the result of intention, patience, and visual storytelling.
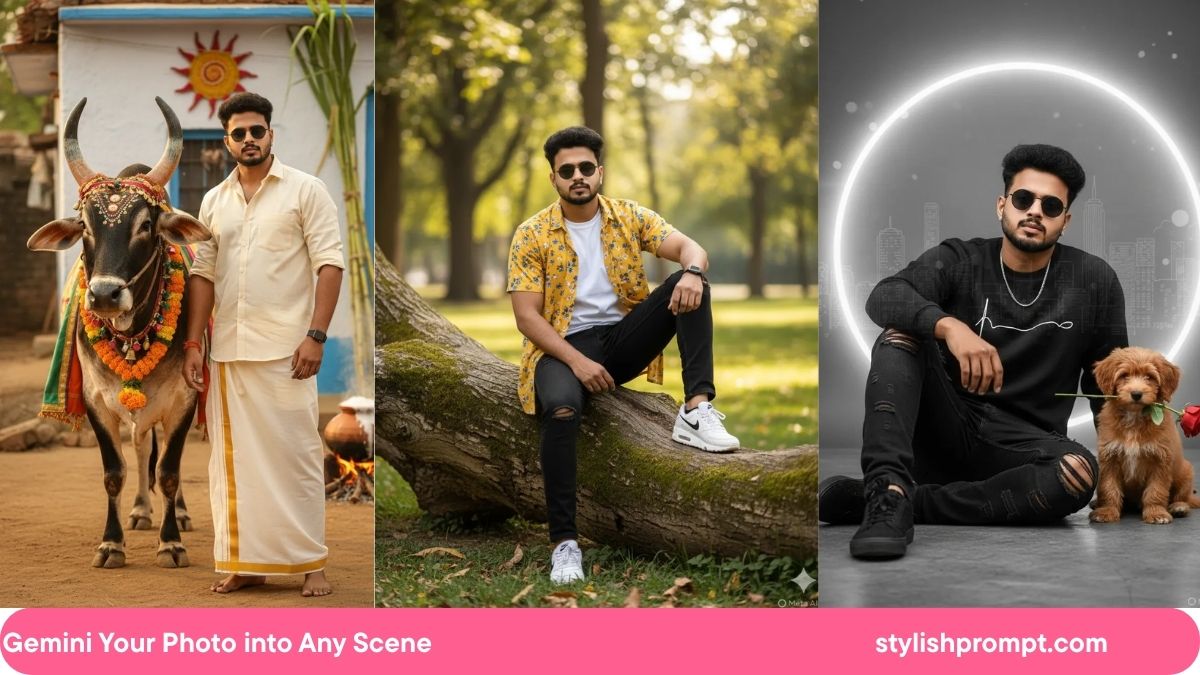
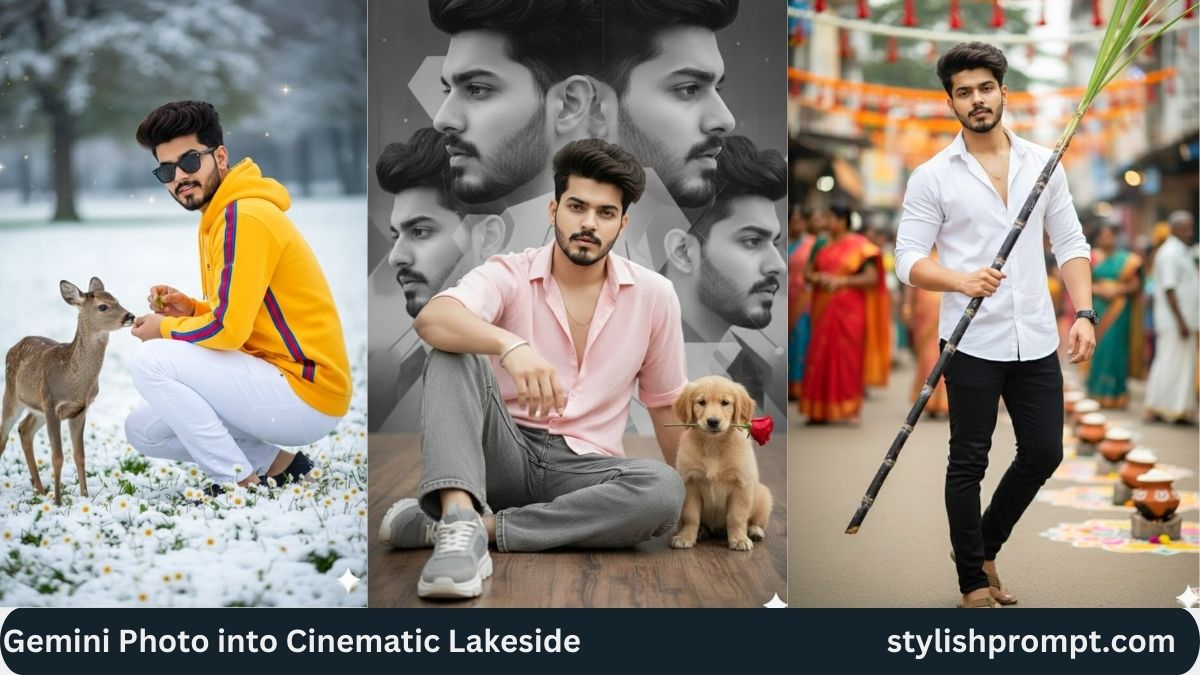
Hi, I’m Muhammad Arslan from Pakistan. Here, you’ll find multiple powerful prompts that you can use on platforms like Google Gemini or ChatGPT to turn your personal photos into stunning AI-generated portraits.